【One by One系列】IdentityServer4(五)创建JavaScript客户端
按照OAuth2.0的4种授权方式,接下来应该介绍隐藏式(implicit), 与之对应的OpenId Connect Flow的Implicit Flow,但是IdentityServer4官方最新文档没有明言,只是给了Adding a JavaScript client的章节,而且根据内部代码实现,还是采用的授权码
,并没有使用Implicit Flow保护SPA, 虽然不知道原因,但是我们还是按照官方最新文档的来介绍,在之前的文档,一个版本号为relase的文档,有Implicit Flow的介绍,感兴趣的童鞋,可以读一下,最新的文档编号是latest,从应用的实际代码比较,差别并不大,唯一的差别可能就是原理,但是不去抓包查看相关报文,并无法感觉。
1. 创建客户端
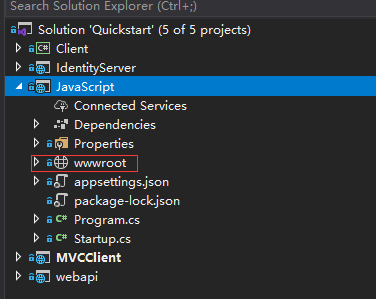
这里我们按照官方教程来,使用ASP. NET Core空项目,用内置服务器来承载客户端静态文件。
1.1 创建项目
md JavaScript
cd JavaScript
dotnet new web

dotnet sln add .\JavaScript\JavaScript.csproj
1.2 修改launchSettings.json
{
    "profiles": {
        "JavaScript": {
            "commandName": "Project",
            "launchBrowser": true,
            "applicationUrl": "http://localhost:6003",
            "environmentVariables": {
                "ASPNETCORE_ENVIRONMENT": "Development"
            }
        }
    }
}
1.3 添加 ‘静态文件中间件’
该项目是为客户端运行而设计的,我们只需要ASP. NET Core提供构成我们的应用程序的静态HTML和JavaScript文件,静态文件中间件就是为此设计的。
注册静态文件中间件,同时删除其他代码。
Startup. Configure
public void Configure(IApplicationBuilder app)
{

    app.UseDefaultFiles();
    app.UseStaticFiles();

}
这个中间件现在将提供应用程序的**~/wwwroot**文件夹中的静态文件。这是我们将放置HTML和JavaScript文件的地方。空项目中不存这个目录,所以需要创建这个目录。
1.4 oidc-client library下载
在上篇,我们使用了一个库去处理OpenID Connect 协议,在JavaScript中,我们同样需要类似的库,只不过现在需要这个库能够在JavaScript中使用且浏览器运行(因为node.js是服务端),https://github.com/IdentityModel/oidc-client-js
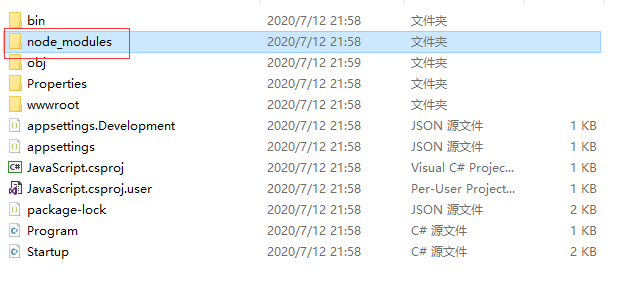
我们用npm下载
npm i oidc-client
copy .\node_modules\oidc-client\dist\* .\wwwroot\
1.5 添加html和js文件
两个html文件和一个除上面的oidc-client之外的js文件组成我们JavaScript应用(SPA)
- index.html
- callback.html
- app.js
index.html
<!DOCTYPE html>
<html>

<head>
    <meta charset="utf-8" />
    <title></title>
</head>

<body>
    <button id="login">Login</button>
    <button id="api">Call API</button>
    <button id="logout">Logout</button>

    <pre id="results"></pre>

    <script src="oidc-client.js"></script>
    <script src="app.js"></script>
</body>

</html>
3个登录按钮,引入两个js文件
app.js
function log() {
    document.getElementById('results').innerText = '';

    Array.prototype.forEach.call(arguments, function(msg) {
        if (msg instanceof Error) {
            msg = "Error: " + msg.message;
        } else if (typeof msg !== 'string') {
            msg = JSON.stringify(msg, null, 2);
        }
        document.getElementById('results').innerHTML += msg + '\r\n';
    });
}

//register click event handlers to the three buttons
document.getElementById("login").addEventListener("click", login, false);
document.getElementById("api").addEventListener("click", api, false);
document.getElementById("logout").addEventListener("click", logout, false);

//UserManager from the oidc-client to manage the OpenID Connect protocol
var config = {
    authority: "http://localhost:5001",
    client_id: "js",
    redirect_uri: "http://localhost:6003/callback.html",
    response_type: "code",
    scope: "openid profile api1",
    post_logout_redirect_uri: "http://localhost:6003/index.html",
};

var mgr = new Oidc.UserManager(config);

/*
 * UserManager provides a getUser API to know if the user is
 * logged into the JavaScript application.
 * It uses a JavaScript Promise to return the results asynchronously.
 * The returned User object has a profile property which contains
 * the claims for the user.
 * Add this code to detect if the user is logged into
 * the JavaScript application:
 */
mgr.getUser().then(function(user) {
    if (user) {
        log("User logged in", user.profile);
    } else {
        log("User not logged in");
    }
});

function login() {
    mgr.signinRedirect();
}

function api() {
    mgr.getUser().then(function(user) {
        var url = "http://localhost:6001/api/identity";

        var xhr = new XMLHttpRequest();
        xhr.open("GET", url);
        xhr.onload = function() {
            log(xhr.status, JSON.parse(xhr.responseText));
        }
        xhr.setRequestHeader("Authorization", "Bearer " + user.access_token);
        xhr.send();
    });
}

function logout() {
    mgr.signoutRedirect();
}
- 对3个按钮进行监听,并触发不同的事件:addEventListener
- 登录
- 退出
- 调用api
callback.html
这个HTML文件是用户登录到IdentityServer后指定的redirect_uri页面,它将与IdentityServer完成OpenID Connect协议的登录握手。此代码全部由我们在app.js中使用的UserManager类提供。登录完成后,我们可以将用户重定向回主页面index.html。
<!DOCTYPE html>
<html>

<head>
    <meta charset="utf-8" />
    <title></title>
</head>

<body>
    <script src="oidc-client.js"></script>
    <script>
        new Oidc.UserManager({
            response_mode: "query"
        }).signinRedirectCallback().then(function() {
            window.location = "index.html";
        }).catch(function(e) {
            console.error(e);
        });
    </script>
</body>

</html>
2. 在IdentityServer注册客户端
客户端应用已经准备好,像其他的客户端一样,需要IdentityServer中添加客户端
// JavaScript Client
new Client
{

    ClientId = "js",
    ClientName = "JavaScript Client",
    // 注意看这里,GrantTypes还是选择的Code
    // GrantTypes.Implicit,
    AllowedGrantTypes = GrantTypes.Code,
    RequireClientSecret = false,

    RedirectUris =           { "http://localhost:6003/callback.html" },
    PostLogoutRedirectUris = { "http://localhost:6003/index.html" },
    AllowedCorsOrigins =     { "http://localhost:6003" },

    AllowedScopes =
    {
        IdentityServerConstants.StandardScopes.OpenId,
        IdentityServerConstants.StandardScopes.Profile,
        "api1"
    }

}
3.允许ajax跨域调用webapi
这个就需要在webapi项目中增加跨域配置
Startup.ConfigureServices
services.AddCors(options =>
                 {
                     // this defines a CORS policy called "default"
                     options.AddPolicy("default", policy =>
                                       {
                                           policy.WithOrigins("http://localhost:6003")
                                               .AllowAnyHeader()
                                               .AllowAnyMethod();
                                       });
                 });
添加CORS中间件
public void Configure(IApplicationBuilder app)
{

    app.UseRouting();

    app.UseCors("default");

    // ...

}
更多跨域配置,参考官方文档
4.测试
运行IdentityServer
cd .\IdentityServer\
dotnet run
运行webapi
cd .\webapi\
dotnet run
VS运行SPA
启动内置服务器,搭载静态文件

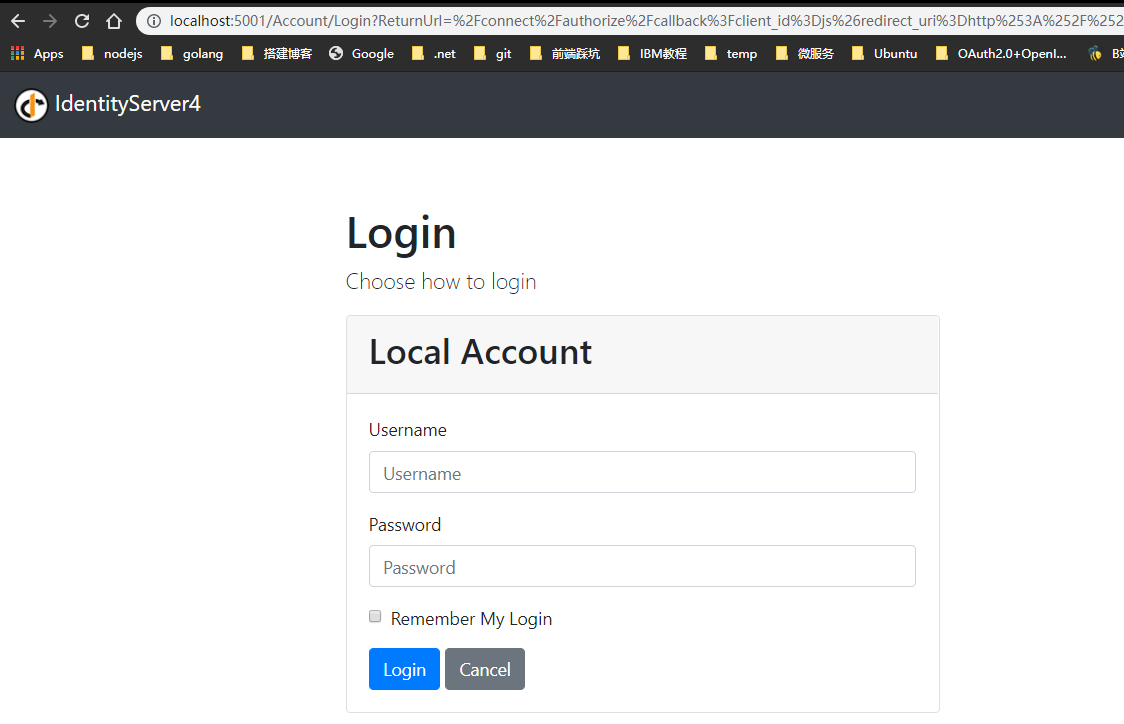
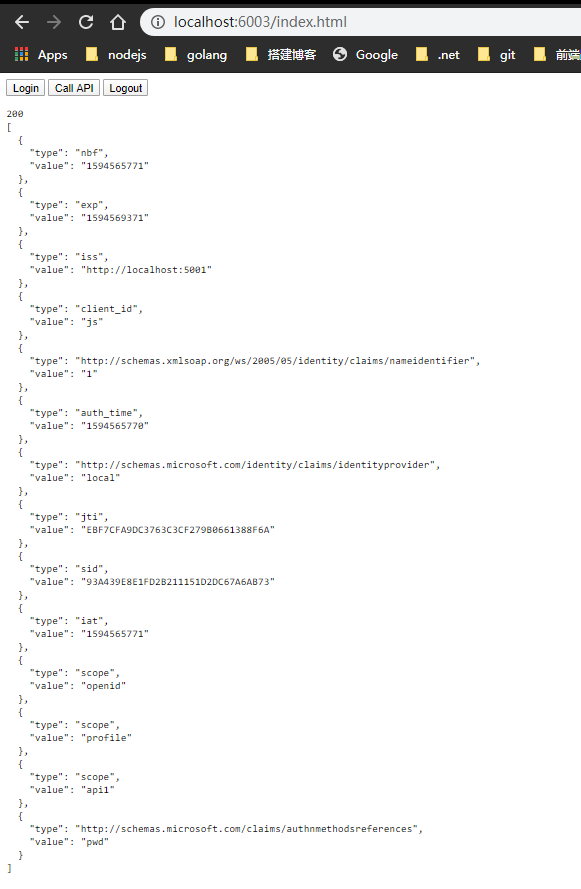
登录成功
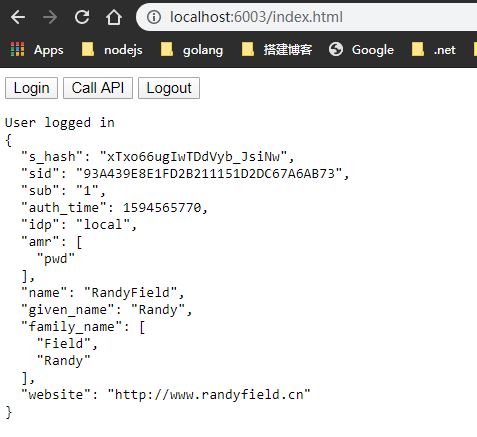
调用api
注销登录

参考链接
http://docs.identityserver.io/en/latest/quickstarts/4_javascript_client.html
- 原文作者:Garfield
- 原文链接:http://www.randyfield.cn/post/2020-07-12-id4-protect-spa/
- 版权声明:本作品采用知识共享署名-非商业性使用-禁止演绎 4.0 国际许可协议进行许可,非商业转载请注明出处(作者,原文链接),商业转载请联系作者获得授权。